Sunday, April 6, 2014

I've been away a while. Life's been busy. I have been stashing photos of projects and meals in hopes that I will be able to post them eventually. The first one I would like to share is my first attempt at Stuffed peppers. I got a few ideas online, but I rarely follow a set recipe. I started with 6 green bell peppers. I chopped off the tops and pulled out the veins and seeds.
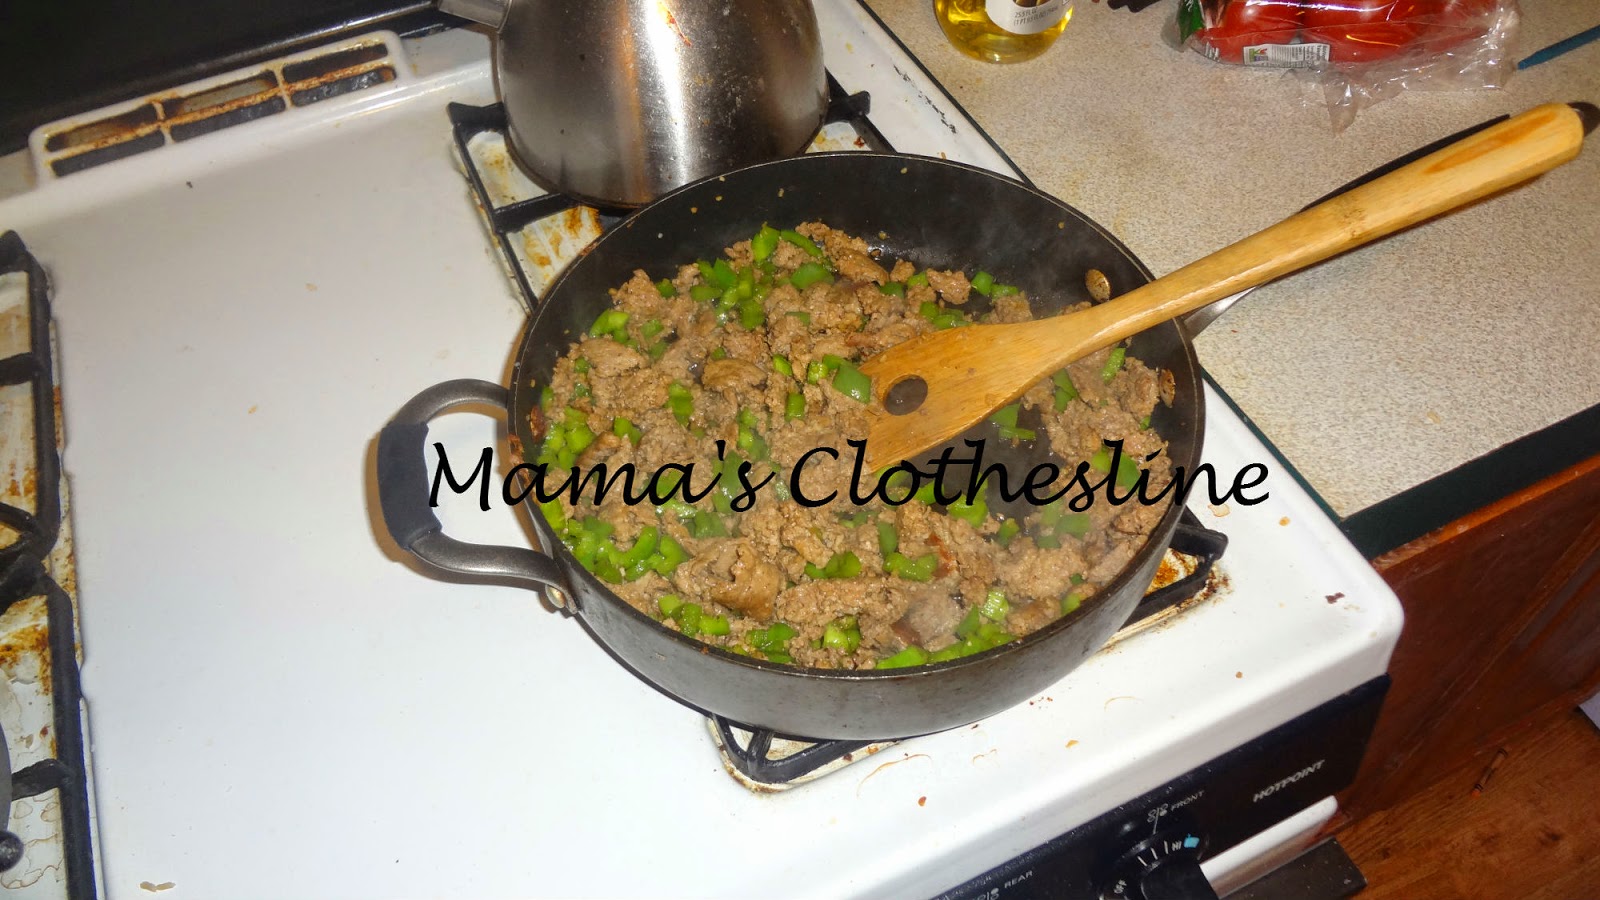
All the insides were discarded, but I saved what I could from the tops and add that to my filler. I also used 2 cups brown rice (cooked) and 1lb ground sausage (browned). I also sauted the pepper bits with the sausage when it wasz salmost done.
I warmed it all together in the skillet and added some mozzerealla cheese (between 1 and 2 cups). I filled the pepper cups with the stuffing and topped with some mozz cheese that I reserved.
I put it all in the oven at 350 for 30ish minutes. They were pretty tasty.
I was surprised as I dont typically eat bell peppers. My kids ate them up too. If I were to make any changes, I would cover and cook longer to soften up the peppers more. This made too much for My husband and I and our three small kids! I hope to continue to add healthy new foods to my familes diet and change the way we eat on a regular basis.

On a side note, I had some stuffing left over, and it was delicious not in the peppers too. It would be good as a side with any protien!

Enjoy!

Friday, December 9, 2011

Busy!

Well I have been super busy lately! New things since I last posted include:

  • New baby
  • daily homework (with my PRESCHOOLER)
  • crafty projects
  • back to work full time
  • teaching Sunday School
  • assisting/leading youth group
  • Thanksgiving
  • other holiday preparations
And probably loads more things that I can't remember! I have been reading from my list avidly though and have a whole list (folder actually) of things I want to create for me and the kiddos and maybe even my husband too. We even took a picture for our holiday cards last night, and let me tell you, the only one who cooperated was the baby, she did not even cry once! I hope to have some projects posted soon, though my most recent was a gift, so I cannot post until after the holiday just in case I get an influx of followers between then and now ;)

Monday, October 10, 2011

Sweater Wreath

I got bored during nap time today and have been meaning to make something. I have made a few small things since I last posted, (possibly prior to the chair post which I still have to edit and put links in) but I never got around to taking any pictures of them. I am such a slacker, I have made several cards, some homecoming sashes, a diaper cake and even done some handiwork repairing my husbands work pants, but no pictures.

I had two smallish wreath forms I picked up at yard sales this summer and wanted to do something with them. My first one became and all season sweater wreath. I have been itching to make a sweater wreath for months with the sweaters I have leftover from my Christmas stocking project. I think it turned out great what do you think?


I used a wreath for, wrapped it in scraps of quilt batting from my chair project and then hot glued the sweater scrap around that. I pinned on the decorations so I can change them as the seasons change and hung it on my front door for the time being. I don't think it is very weather proof however, so as soon as our nice days end I will bring it in the house and hang it somewhere inside.

These ribbon rosettes are my new favorite thing to make, they are so easy and the only supplies they require are a hot glue gun (with glue) and ribbon. I back.mine with felt now, but I have made them without it also!

It was made with things I had laying around so a free project for me!

Thursday, September 22, 2011

Ugly Red Chair To Pretty Zebra Chair

Last week I recovered this chair for my step daughter who was off to college. She and her roommate decided that they were going to have a zebra print room. So being ambitious and wanting to try a tutorial I found (will link later) I took her nasty old computer chair and recovered it. I do not have a before picture, it was that UGLY. We used to keep a blanket over it so it was not  visible!  It only took me about 30 minutes to do, it was so easy! (that is my time minus small child distractions)
All I did was remove and destroy the old fabric with scissors and elbow grease, cut quilt batting (for cushion) and cute zebra fabric to size, and stuff both in between the plastic of the back and the seat of the chair. Easy peasy as my preschooler would say.
And here she is, isn't she a beauty now?

Monday, August 29, 2011

This might be fun!

Im going to learn to post from my phone now:) since I got a smart phone,  finally!

Tuesday, July 26, 2011

Family Picture

I finally got our family picture taken. We haven't done one since my 4 yr old was 9 mos. Slacker mom award of the decade for me I think. My youngest is now 18 mos, poor kid, someday she is going to think we don't love her! I even managed to get almost all of the kids smiling, the boy has this habit of ruining pictures. Want to see?


Pretty cute bunch don't you think? My hubby took it with a tripod and a timer, and it only took a few tries:)

Monday, July 25, 2011

Apothecary Jar

I seem to be getting better about posting what I am creating rather than just my thought and feelings. During nap time today I decided to be creative with one of my recent thrift finds. I got to garage saleing these last two Saturdays and I found some great stuff. My loot includes and vintage (maybe) Samsonite suitcase that has already been put to use organizing barbies and a pretty little apothecary jar each for $1! I decided my jar was too plain for my taste, see??

To make it pretty I just dug through my ribbon stash and picked out a color I am using in my bathroom and glued it on. After I glued on the striped I decided that it needed more so I made my very first ribbon flower. It isn't the most well made flower and you can see my hot glue everywhere but it will serve the purpose in my bathroom where I am the only one who will appreciate it!

It became a very cute cotton ball jar! Now I need to locate another jar to pretty up for my Q-Tips and maybe something to organize my makeup brushes :) and I have big plans for a vase that I have had laying around for ages for bathroom decor! And no the picture is not taken in my bathroom because it is a work in progress, and because we rent and cannot change the horrid walls!


Oh and my daughter decided that she needed to be involved in my jar process so here she is modeling our finished product:) (Don't mind her hair! I braided it last night and she wont let me take it out!)